You know what people always ask me about kitchen remodels? It’s not about the backsplash or the perfect statement pendant light. They lean in and ask, “But what do I do about the floor?” It feels like such a huge, permanent decision, and they’re terrified of getting it wrong.
And I get it. The floor is the foundation for everything. It’s where you stand for hours perfecting a recipe, where the kids drop their jelly toast (always jelly-side down), and where friends gather around the island, wine glasses in hand. It’s the stage for your life. The corporate-speak guides will throw a million specs at you, but they miss the point. This isn’t just about what’s durable; it’s about what feels like home.
So, let’s talk, friend to friend. Here’s the real story on how to choose and install a kitchen floor you won’t just live with, but one you’ll truly love.
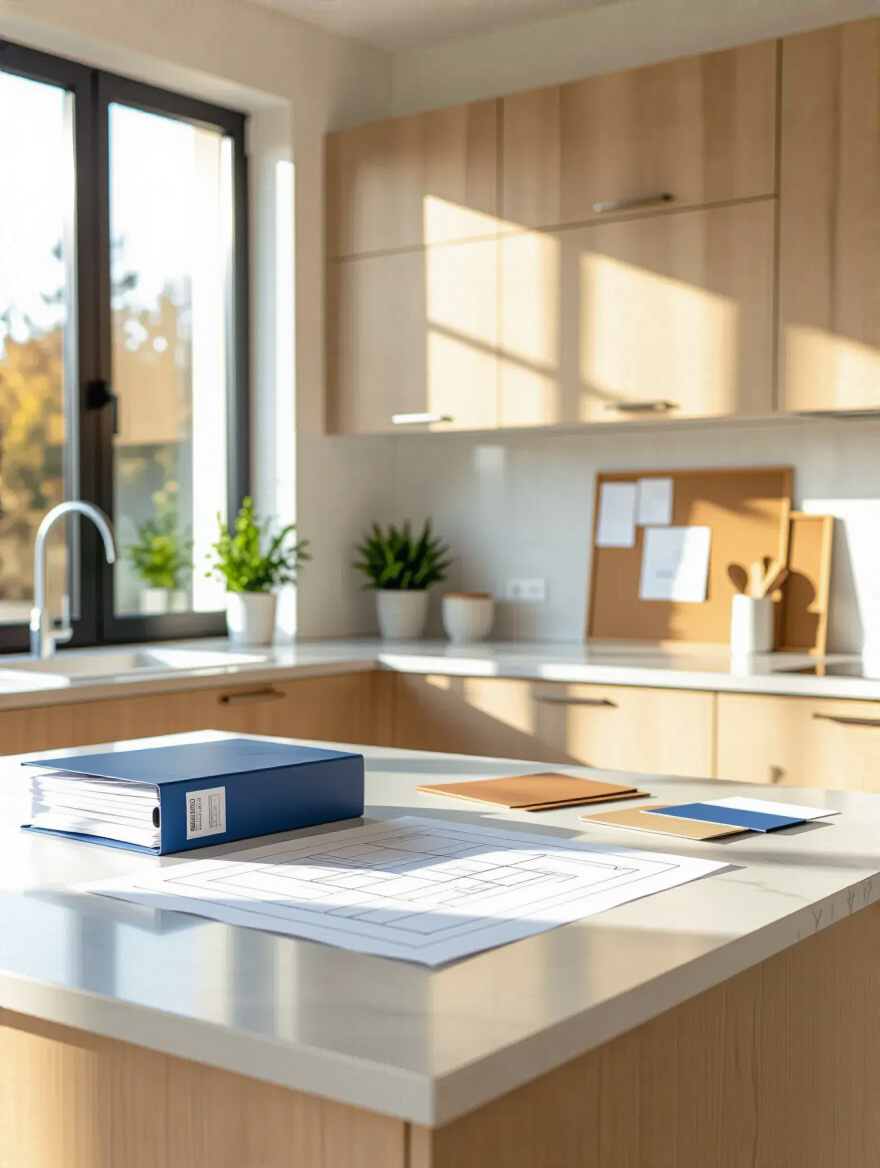
Phase 1: Planning & Design Foundations
This is the “eat your vegetables” part of the project. It might not be the most exciting, but getting these foundations right is the difference between a kitchen that makes you smile every morning and one that gives you a new gray hair every time you spot a gap or a crack. Trust me, a little bit of thoughtful planning now saves a mountain of heartache later.
1. Establish Your Realistic Kitchen Floor Remodel Budget.
Can we just be honest? Budgeting is a drag. But here’s a confession: I used to think it was simple math. Then I watched a client’s budget balloon by 30% because we discovered their subfloor looked like a miniature roller coaster hiding under their old linoleum. Your budget isn’t just a number; it’s your roadmap. It tells you where you can splurge (that gorgeous tile you’ve been eyeing) and where you need to be clever.
What really matters here is thinking beyond the price tag on the flooring box. The real cost includes tearing out the old floor, potentially fixing that roller-coaster subfloor I mentioned, the adhesive, the trim, and the labor. Call out the BS: anyone who gives you a quote based only on square footage without seeing what’s underneath is guessing. Get at least three itemized quotes. This lets you see who’s charging what for demolition, prep, and installation. And my shortcut for your sanity? Add a 15% “uh-oh” fund. When you find that hidden leak or uneven spot—and you might—you’ll be relieved you have it.
Now, with a clear budget, we can start to dream about the fun stuff.
2. Compare Top Flooring Materials for Kitchen Durability.
The kitchen floor works harder than any other floor in your house. It faces splattered spaghetti sauce, dropped pans, constant foot traffic, and maybe even the click-clack of your dog’s nails. So, everyone says to just “pick something durable,” but what does that actually mean for your kitchen? It means choosing a floor that fits your life.

Are you a whirlwind cook with three kids and a golden retriever? You need a floor that’s nearly bulletproof. Think Porcelain tile—it’s the cast-iron skillet of flooring, it’ll outlive all of us. Or look at high-quality Luxury Vinyl Plank (LVP), which is a fantastic, comfortable, and water-resistant option. If you’re a meticulous cook in a quieter home, then the warmth of an engineered hardwood could be absolutely perfect. The noise isn’t the spec sheets; it’s an honest look at your daily life. A shortcut? When you look at LVP, ask for the “wear layer” thickness. Anything 20 mil or higher is built for the chaos of a real family kitchen.
Once you have an idea of what can stand up to your life, let’s make sure it looks good doing it.
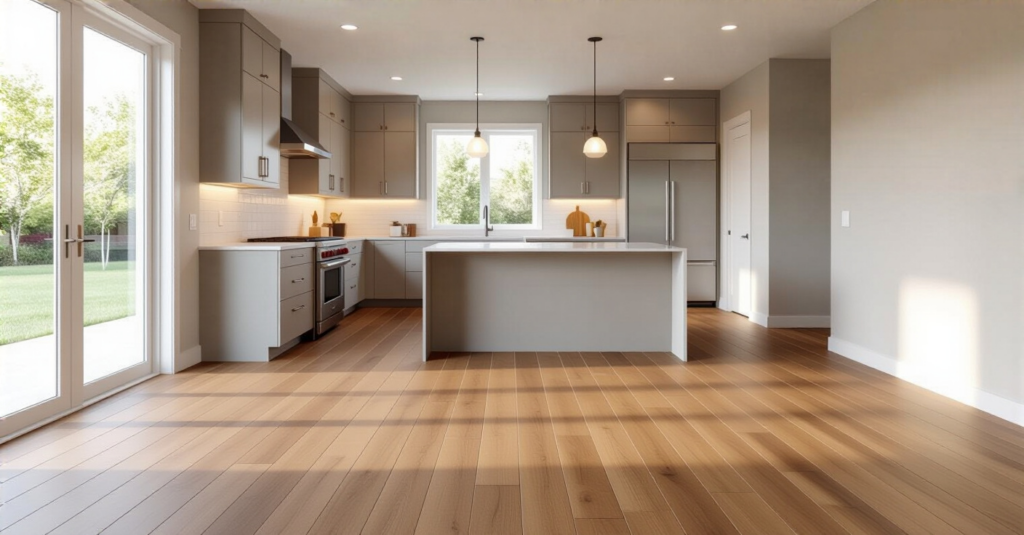
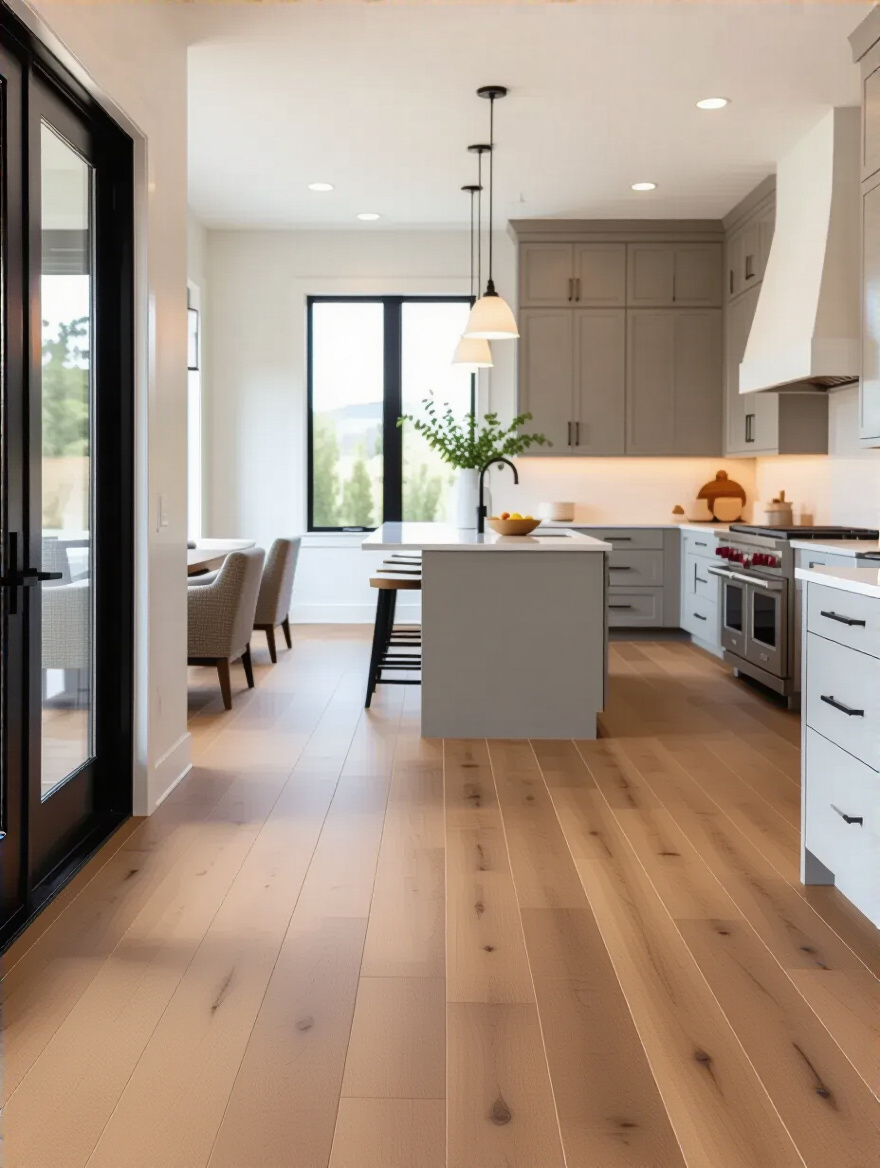
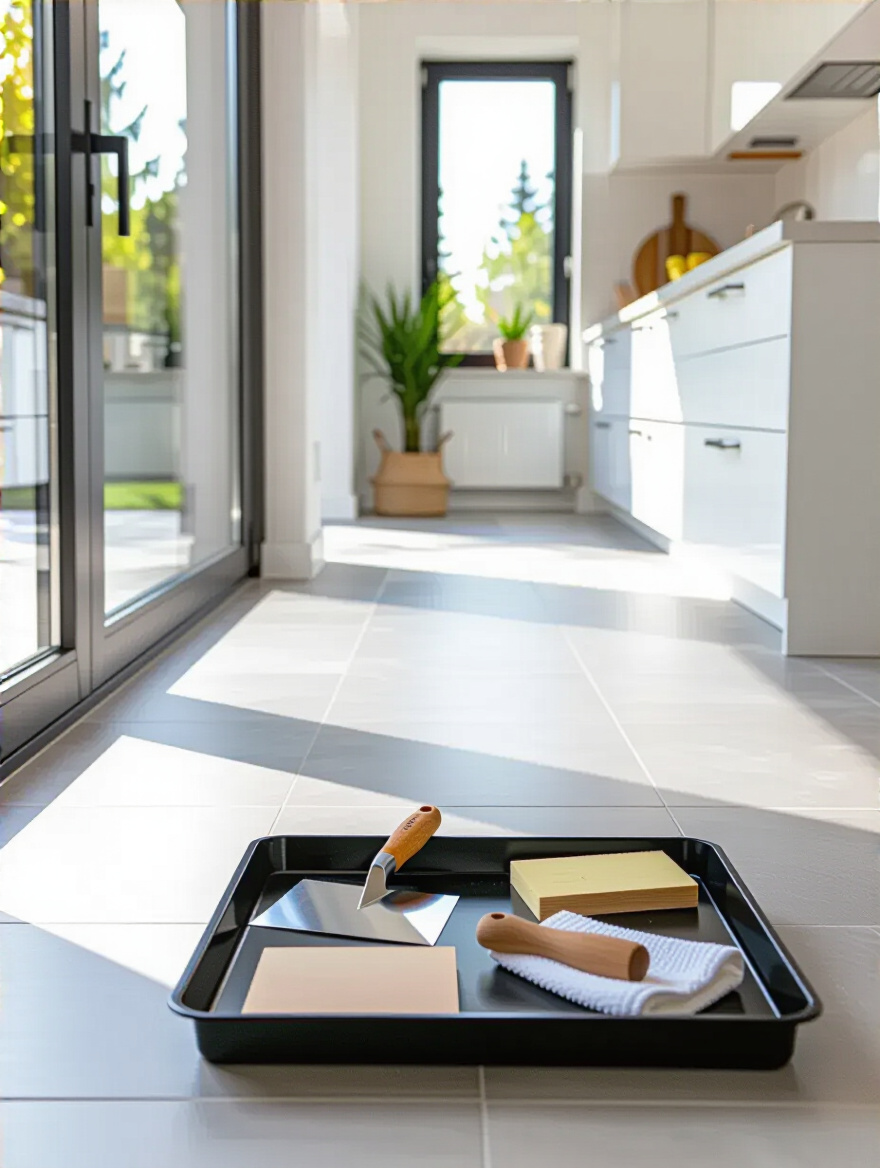
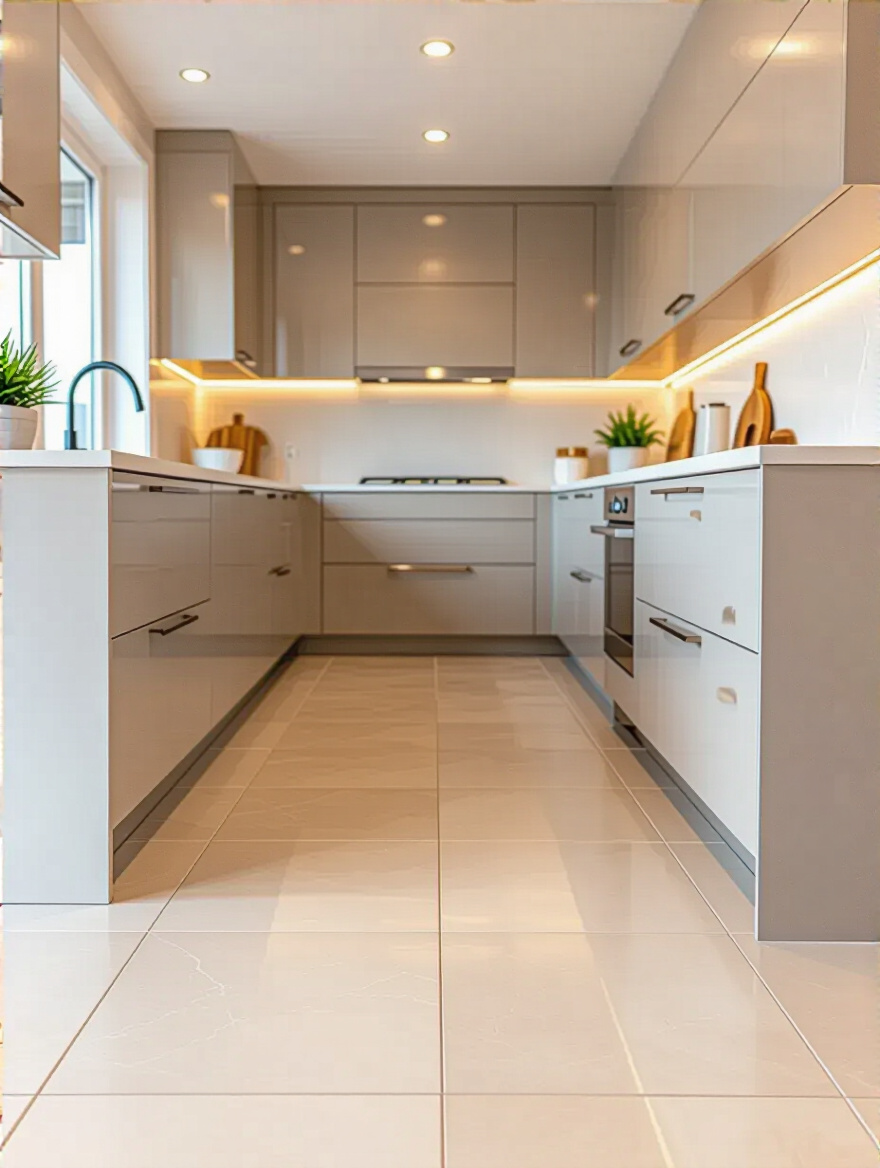
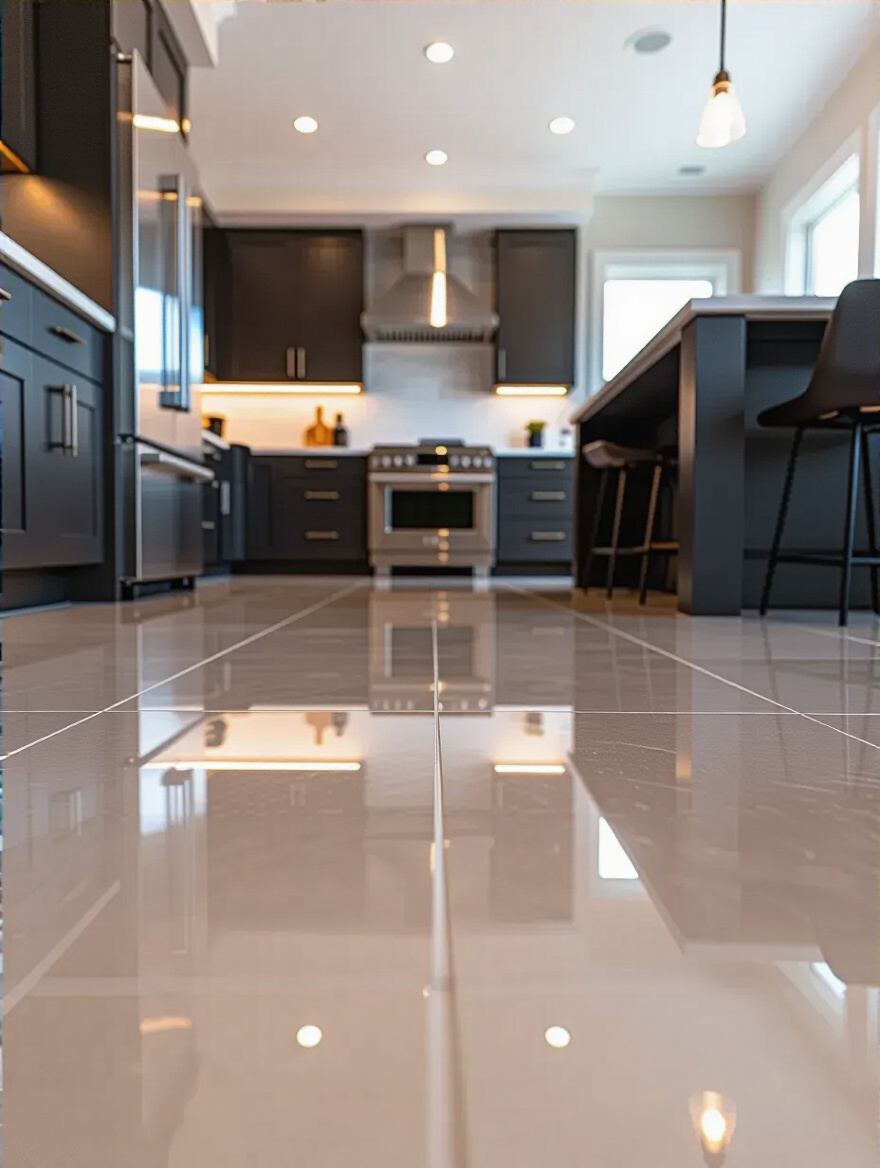
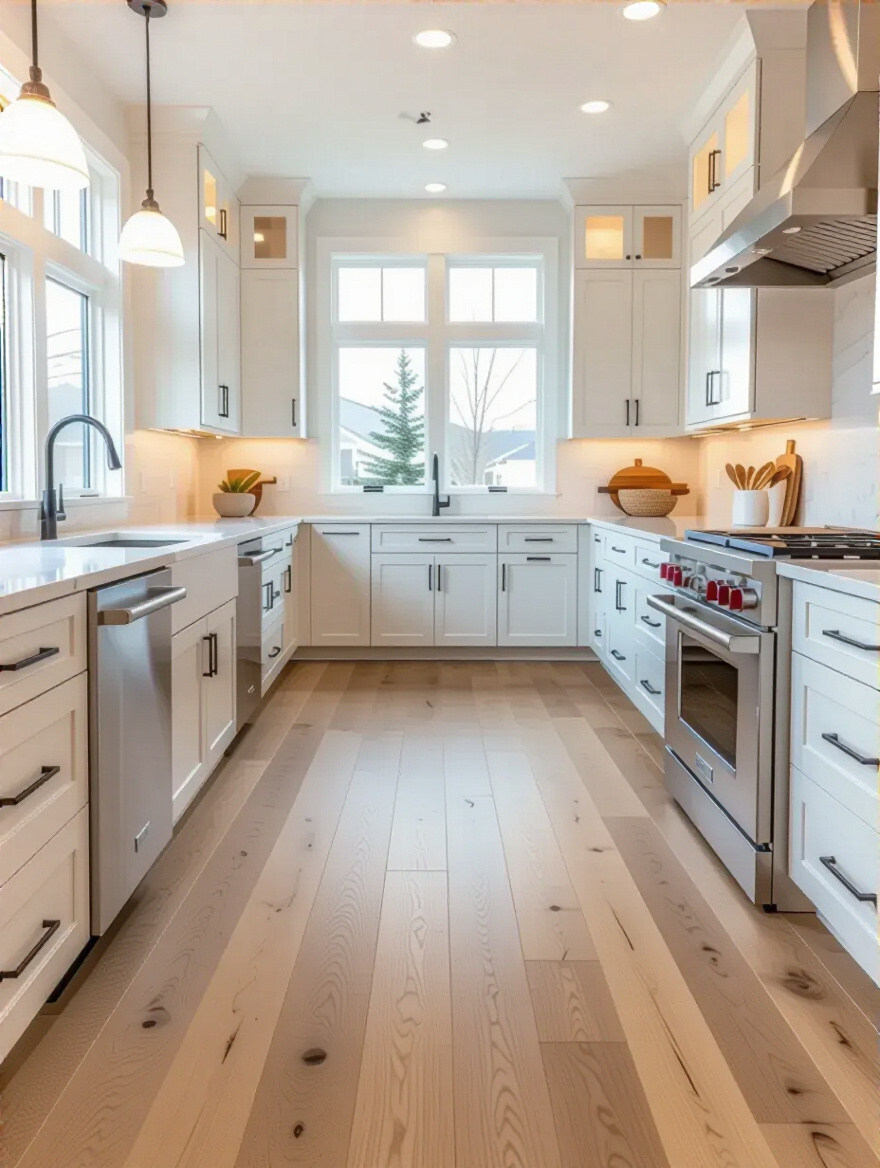
3. Choose Flooring That Complements Your Kitchen Aesthetic.
A beautiful kitchen is like a good soup—all the ingredients have to work together. Your floor is the rich, flavorful stock that everything else is built on. I’ve seen people install stunning floors that fought with their cabinets, and the whole space just felt… off. The goal is to create harmony, a visual conversation between the floor, your countertops, and your cabinets.

The secret here is to look at undertones. Do your cabinets and countertops have warm, creamy, or golden tones? Or are they cool, with hints of blue, gray, or stark white? Your floor should be in the same family. If you have warm honey-oak cabinets, a cool gray floor will clash. A warm, natural-looking vinyl or a creamy travertine-style tile will feel cohesive. My favorite shortcut: grab the largest samples you can. Don’t just look at a tiny 4×4 square. Bring home a few full planks or large tiles. Lay them on the floor for a few days. See how they look in the morning light, under your kitchen lights at night, and next to your cabinets. It’s the only way to know if they’ll be happy together.
This next step is the one that really separates the pros from the amateurs.
4. Assess Your Subfloor’s Readiness for New Installation.
Let’s talk about what nobody sees and everyone gets wrong: the subfloor. Your beautiful, expensive new flooring is only as good as the foundation you put it on. I learned this the hard way on one of my first big solo projects. We laid this gorgeous engineered hardwood, and within six months, there was a weird little bounce in one spot. It drove the homeowner crazy. The culprit? A single loose subfloor panel we’d missed.
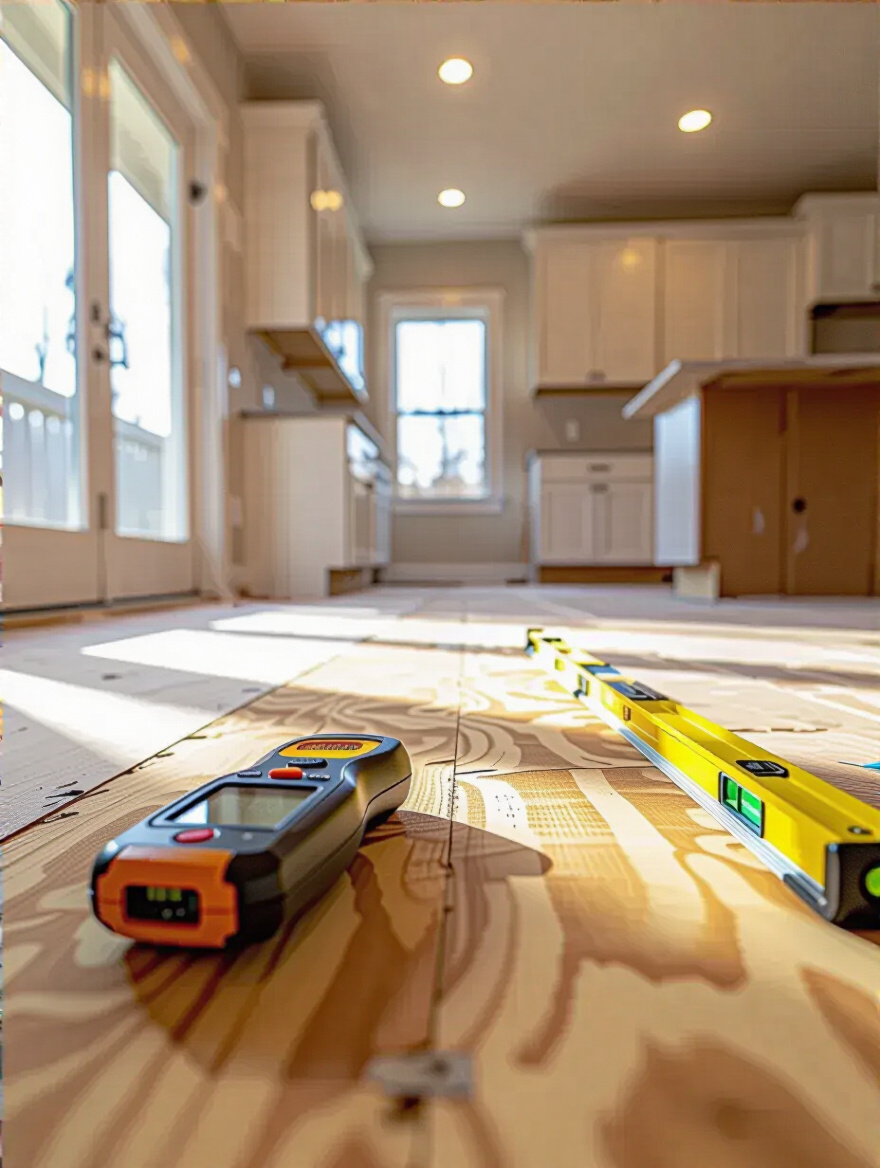
Your subfloor needs to be three things: clean, flat, and dry. After you rip out the old floor, you need to scrape up every bit of old glue and debris. It has to be surgically clean. Then, grab a long, straight board (at least 6-8 feet) and lay it across the floor in different spots. If you can see significant gaps under it, your floor isn’t flat. And that’s a huge problem, because modern flooring, especially click-lock vinyl planks, will bend and eventually break over those low spots. This isn’t just noise; it’s the absolute gospel of good flooring.
And speaking of a good foundation, it also needs to be protected.
5. Understand Moisture Barrier Importance for Floor Longevity.
I’m going to get a little nerdy here, but stick with me. This is important. If your subfloor is concrete—like in a basement or on a slab foundation—you have to think about moisture. Concrete is like a hard sponge; it can wick moisture up from the ground, and if you trap that moisture under your new floor, you’re creating a recipe for mold, mildew, and warped planks. It’s a disaster.
A moisture barrier is basically a waterproof jacket for your subfloor. It’s a simple sheet of plastic (like 6-mil poly) or a special paint-on liquid that stops that moisture in its tracks. I had a client who skipped this step to save a couple hundred dollars. A year later, their beautiful new laminate floor was cupping and peeling at the seams. The fix? Tearing it all out and starting over, this time with a proper moisture barrier. The cost was ten times what the barrier would have been in the first place. The shortcut here is to not take shortcuts. If you have a concrete subfloor, a moisture barrier isn’t optional, it’s essential insurance.
So, you’ve done the planning. Now, who’s actually going to do the work?
6. Determine if Professional Installation is Right for You.
Everyone loves the idea of a good DIY project. It feels empowering, and you can save some money. But can I be a bit of a mom here? The kitchen is not the place to learn how to install flooring for the first time. There are too many tricky cuts around cabinets, appliances, and doorways. And as we’ve discussed, getting the subfloor perfectly flat is an art form.
Here’s the real talk: A professional installer will have the specialized tools, the experience to handle unexpected problems, and frankly, they’ll get it done in a fraction of the time. Think about how much you value having a functional kitchen. A pro might be done in two days, while a DIY project could leave your kitchen in chaos for two weeks. Plus, many flooring warranties are void if the floor isn’t installed by a certified professional. My shortcut for making this decision? Be brutally honest with yourself about your skills, your tools, and your patience. If there’s any doubt, hire a pro. Your future self will thank you.
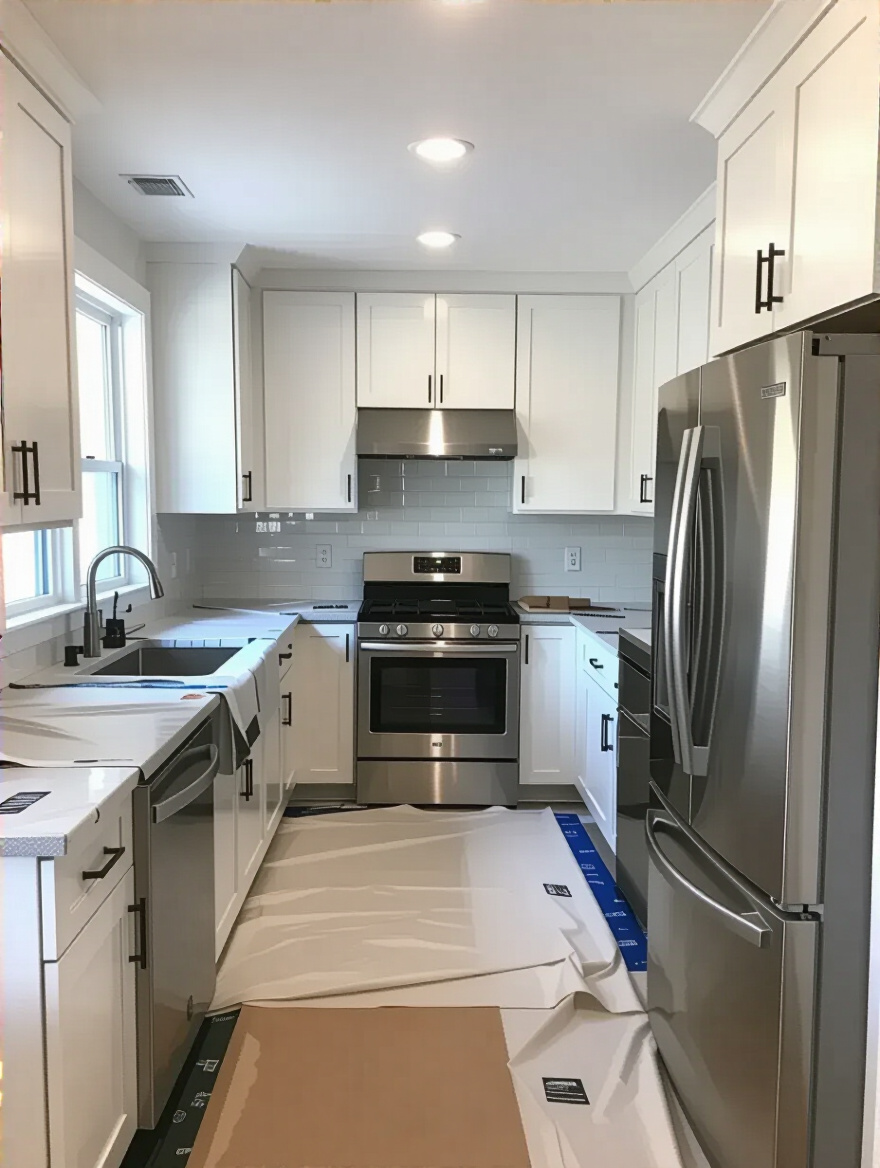
Phase 2: Preparation & Demolition Smartly
Alright, the decisions are made. It’s time to make a little mess! But we’re going to do it the smart way. This phase is all about setting the stage for a smooth installation by getting rid of the old stuff without creating new problems.
7. Efficiently Demolish Your Old Flooring Without Damage.
Everyone thinks demo day is all about swinging a sledgehammer. Wrong. That’s for TV shows. In a real kitchen, demolition is a careful, surgical process. Your goal is to get the old floor out without gouging your subfloor or taking a chunk out of your beautiful cabinet toe-kicks. Every mistake here creates more work for you later.
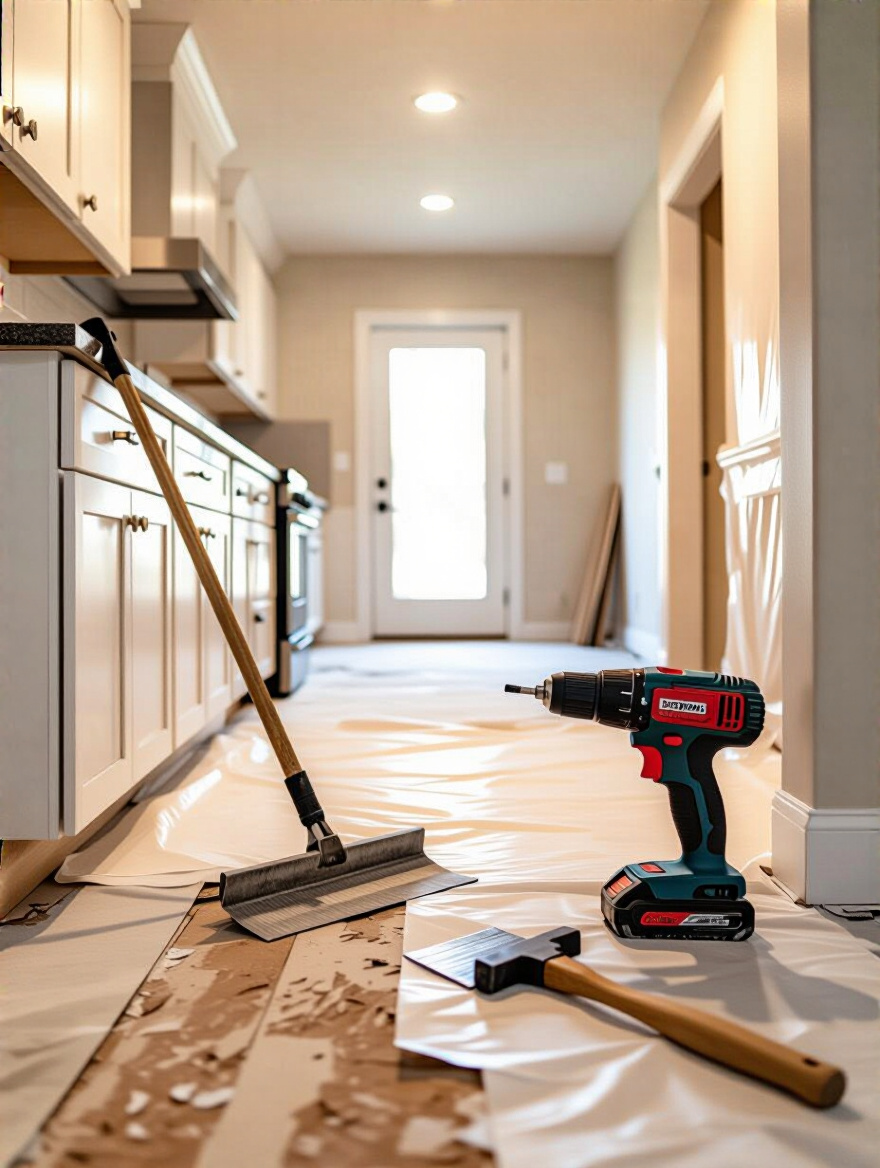
Start by protecting everything you’re keeping. Cover your counters and cabinets with heavy-duty paper or plastic. Then, use the right tools for the job. A floor scraper can get under old vinyl, while a pry bar and hammer work for old tile. The BS here is that brute force is best. It’s not. It’s about leverage and patience. I learned that prying up old, well-stuck tile requires finding a starting point and working slowly. My shortcut? If you have a lot of tile or glued-down flooring, rent a power floor stripper. It’s a walk-behind machine that does the brutal work for you, saving your back and your subfloor.
Once the old floor is gone, you’re left with the blank canvas underneath.
8. Thoroughly Clean and Prep Your Subfloor for Optimal Adhesion.
I know, I feel like a broken record talking about the subfloor, but it’s that important. I see so many people do a quick sweep and think they’re ready. But any lingering dust, grit, or old adhesive gunk acts as a “bond-breaker.” That means your new adhesive won’t stick properly, creating hollow spots under your tiles or planks that will eventually crack or lift.
Get a good shop vac and go over every single inch of that floor. Then, get a scraper and attack any little bumps of old glue or drywall mud. You want a surface so clean you’d consider eating off it. (Okay, maybe not, but you get the idea). This is pure elbow grease. There’s no real shortcut other than being methodical. This is the moment your diligence will directly translate into a floor that feels solid and lasts for decades.
Now let’s get that surface perfectly smooth.
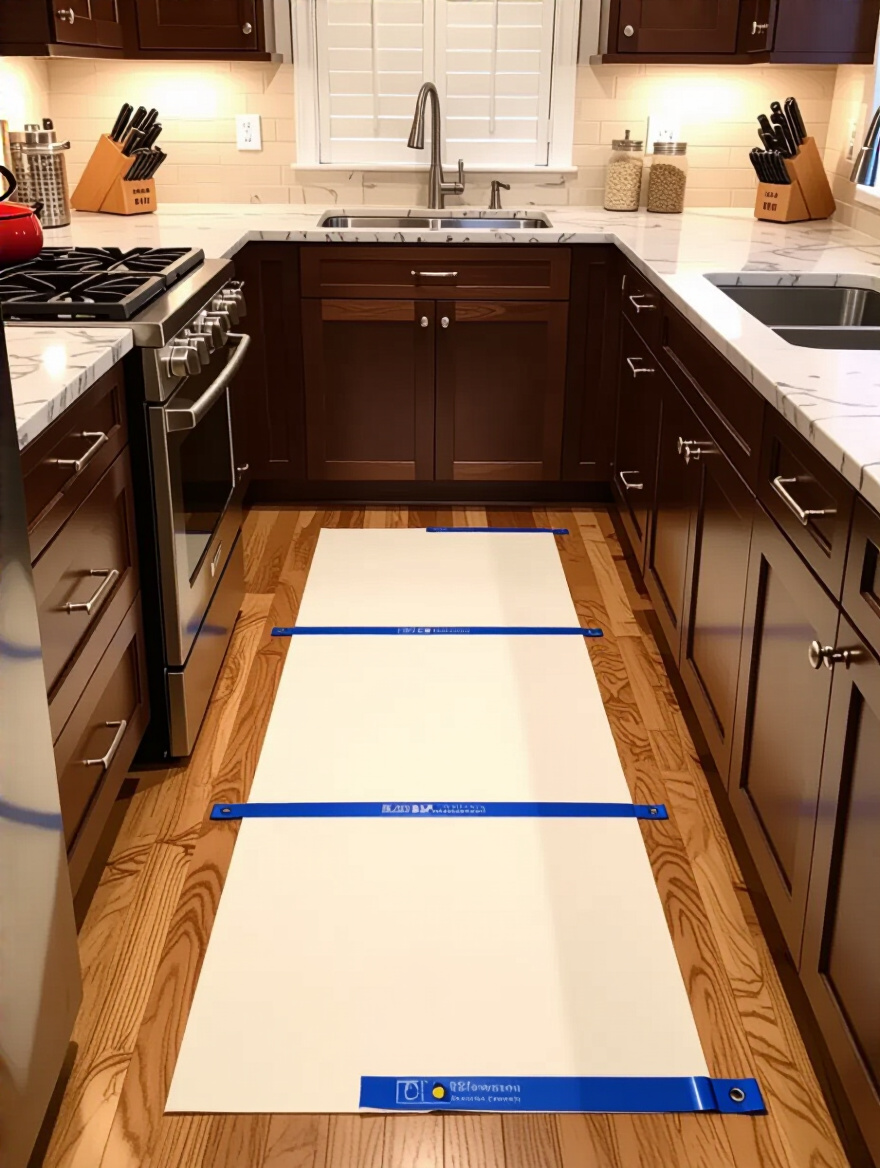
9. Address Subfloor Leveling Issues for a Seamless Finish.
Remember that long, straight board we talked about? Now’s when it really comes into play. If your floor isn’t perfectly flat—and most aren’t—you have to fix it. A high spot can be ground down, but low spots are more common. This is where Self-Leveling Compound becomes your best friend.
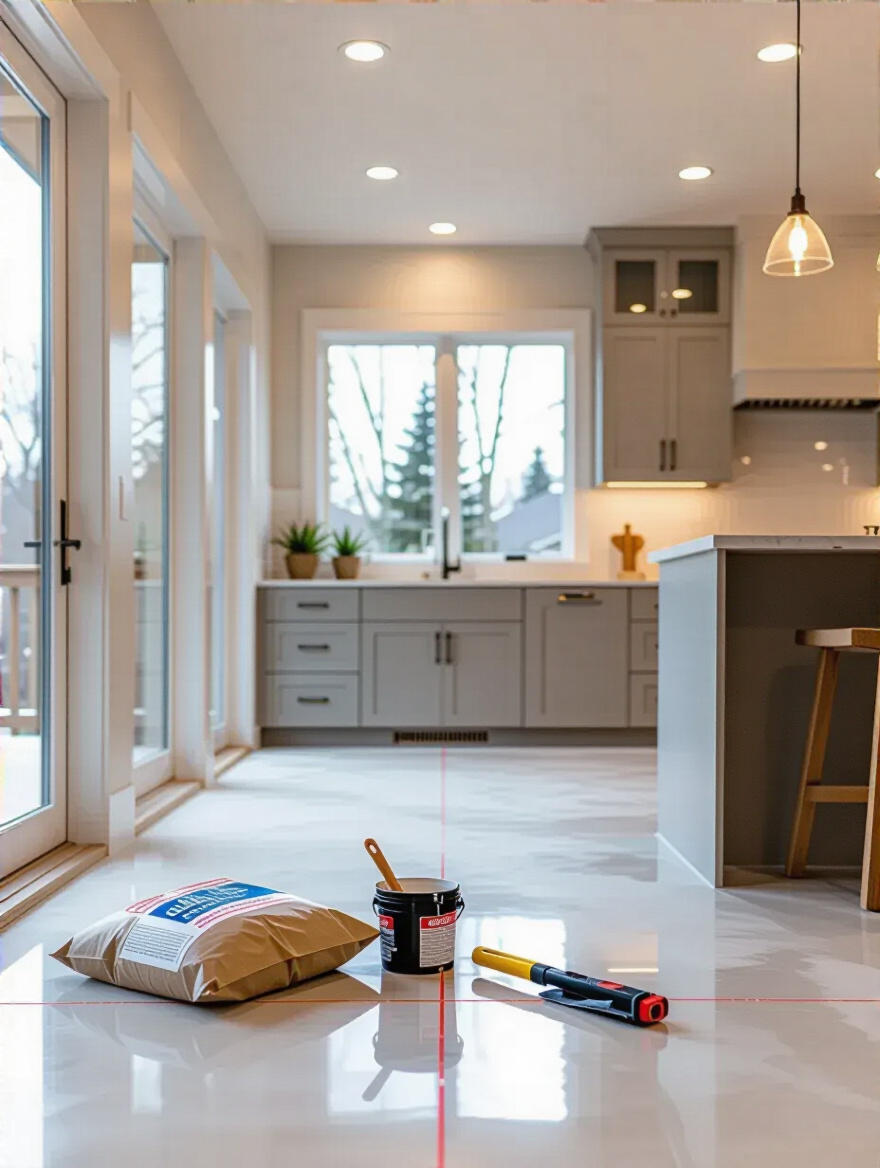
It sounds intimidating, but it’s basically like pancake batter for your floor. You mix it up, pour it into the low areas, and it magically spreads out to create a perfectly flat, smooth surface. One of my clients tried to skip this step, and within a year, the click-lock joints on his LVP floor started to fail and separate right over a big dip he thought “wouldn’t matter.” It always matters. Don’t believe the BS that a thick underlayment will fix an unlevel floor. It won’t. It will just compress into the low spots and hide the problem for a little while. The only real fix is to level the subfloor itself.
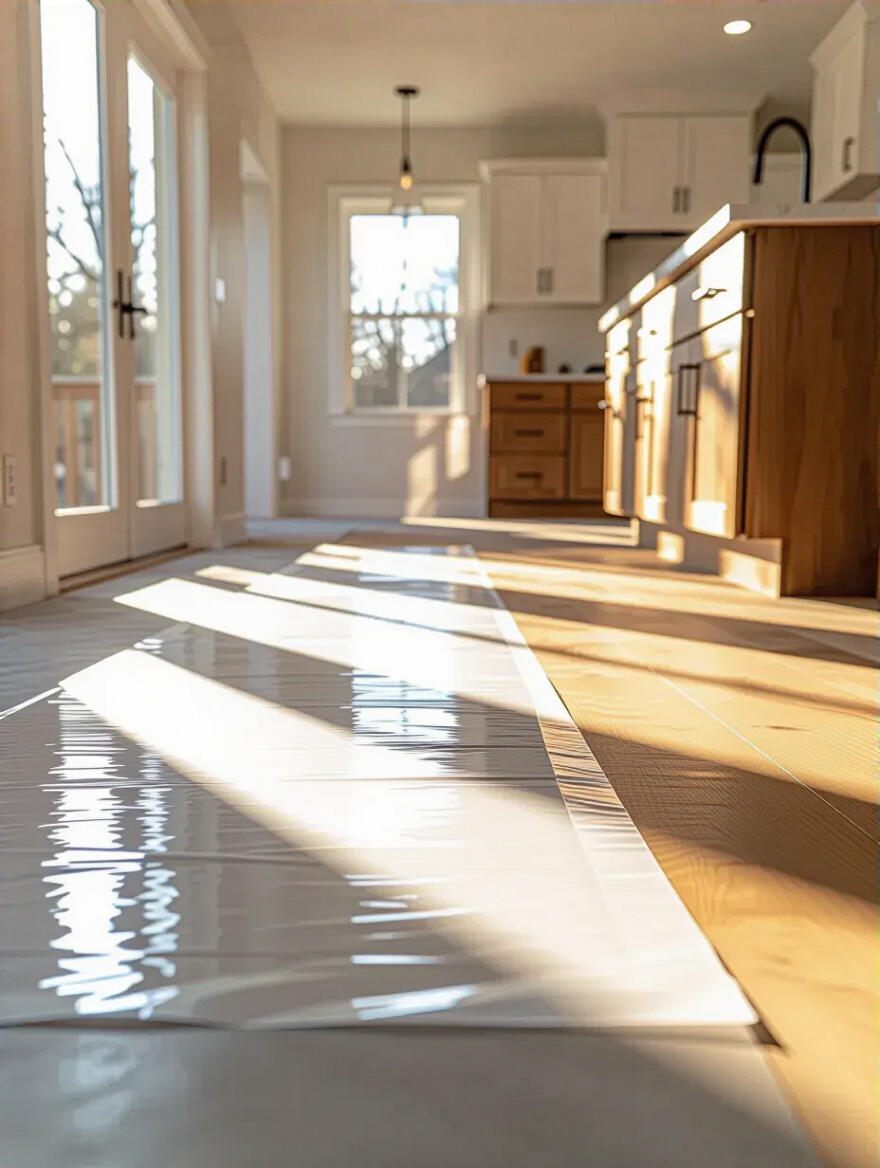
With everything prepped, we need to protect the rest of your kitchen from the next phase.
10. Protect Existing Cabinets and Appliances from Debris.
You’re about to start cutting materials, and it’s going to create a hurricane of dust. Trust me. That fine dust will get everywhere—inside your cabinets, in the hinges, on every single dish. The five minutes you spend now on protection will save you five hours of miserable cleaning later.
Use painter’s tape and plastic sheeting to completely seal off your cabinet doors and drawers. Cover your countertops. If you can’t move your fridge or stove out of the room, drape them completely. The shortcut here is to create a “dust wall.” Hang plastic sheeting from the ceiling to the floor to cordon off the kitchen from the rest of the house. It’s a simple step that makes a world of difference in keeping your home livable during the renovation.
Before you cut a single piece, there’s one last piece of paperwork.
11. Secure Necessary Permits to Avoid Legal Hurdles.
Okay, I know. Permits feel like a bureaucratic headache. But can I tell you a horror story? A friend of mine installed gorgeous heated tile floors in his kitchen—a lovely, high-end upgrade. When he went to sell his house a few years later, the buyer’s inspector flagged the unpermitted electrical work. He had to tear up part of his beautiful floor for a retroactive inspection, pay fines, and nearly lost the sale. It was a nightmare.
Generally, you won’t need a permit just for flooring. But if your project involves moving plumbing (like the dishwasher) or adding new electrical (like that heated floor), you almost certainly do. The shortcut is simple: make one phone call to your local building department. Just ask. It takes five minutes and could save you from a massive, expensive problem down the road. It’s your “get out of jail free” card.
One final prep step before the magic happens.
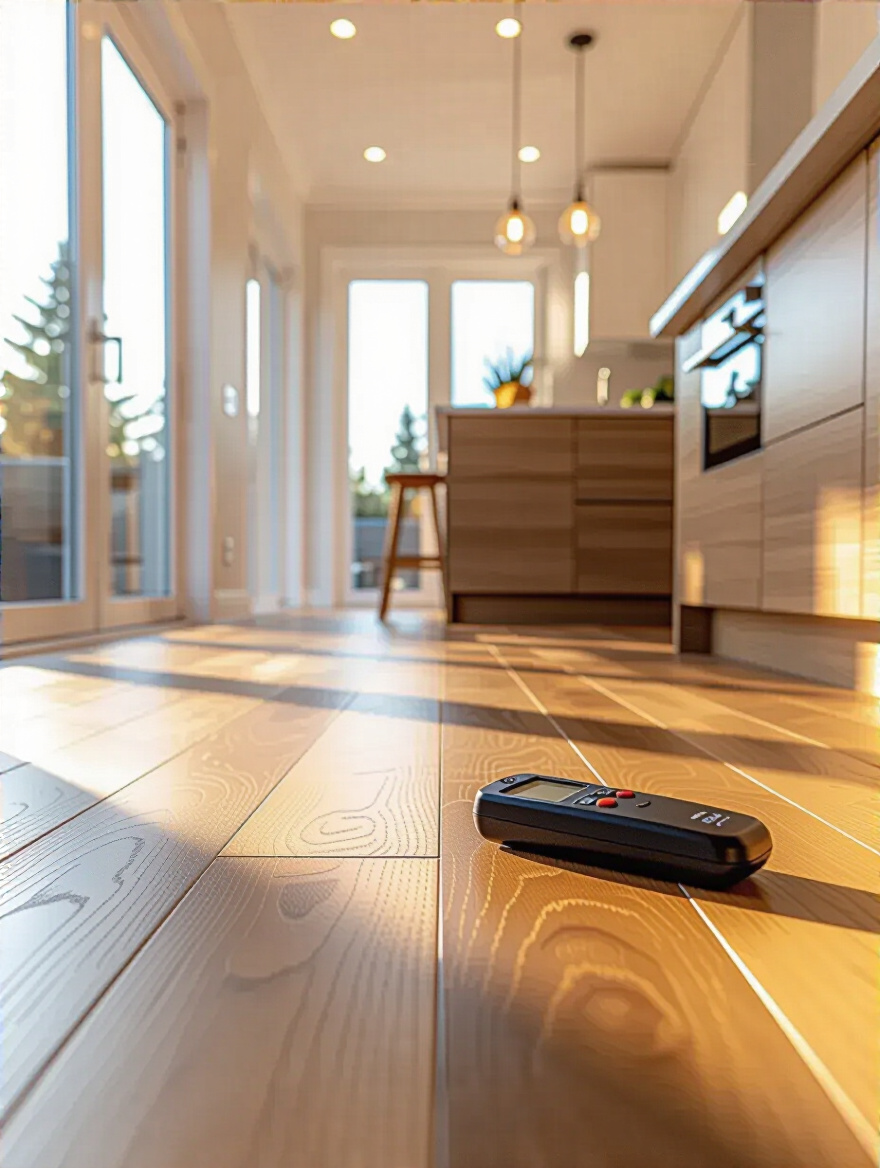
12. Acclimate New Flooring Materials to Prevent Warping.
This is the step that everyone wants to skip because they’re excited to get started. Don’t do it! Wood, laminate, and even LVP are like sponges—they expand and contract with the temperature and humidity in a room. You have to let your new flooring material sit in your kitchen for a few days before you install it so it can get used to its new home.
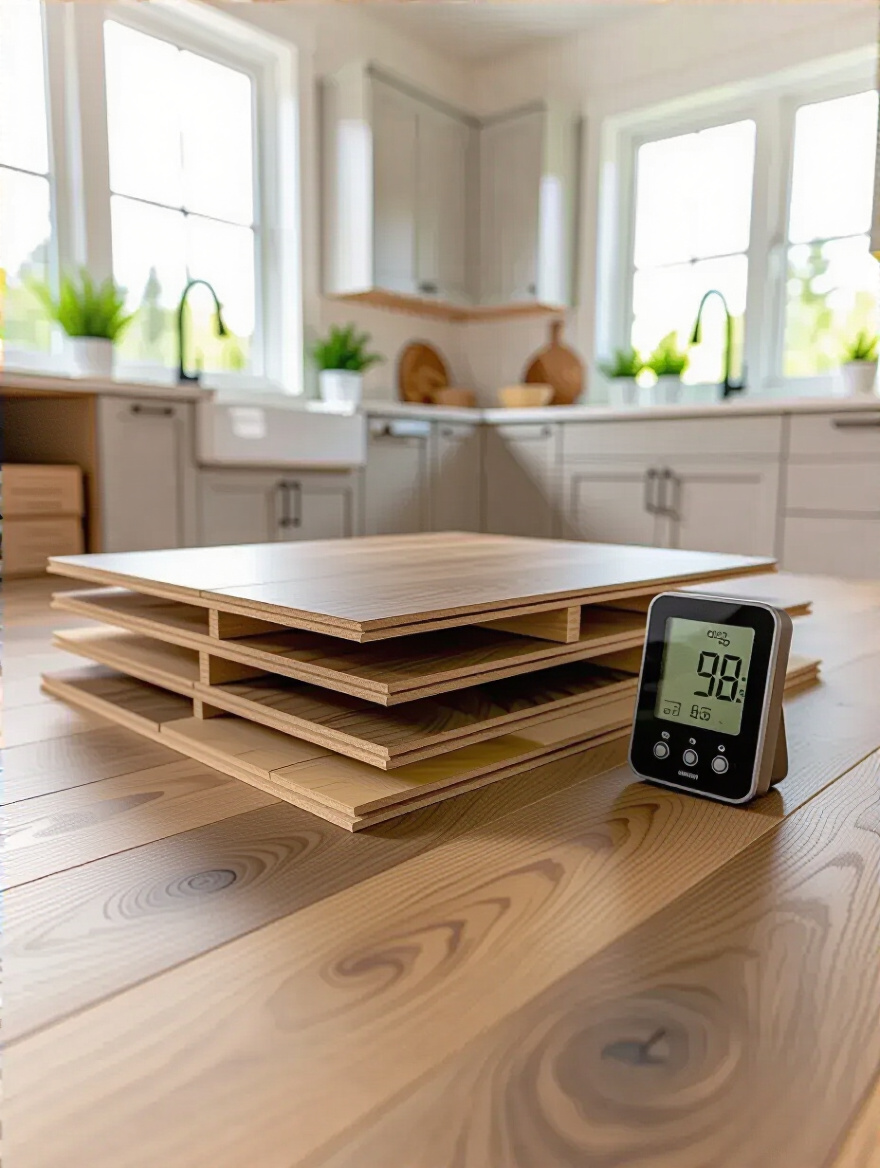
Think of it like letting a good steak come to room temperature before you cook it. It ensures a better result. If you install a floor straight from a cold warehouse into your warm kitchen, the planks will expand after they’re locked together, causing them to buckle and pop up. I’ve seen it happen. The BS is when a product says “no acclimation needed.” My pro shortcut? I don’t care what the box says. I always give materials at least 48 hours to acclimate in the room where they’ll be installed. It’s a simple, free insurance policy against a warped, ruined floor.
Phase 3: Installation Techniques & Precision
We’re here! The prep work is done, and now we get to see your beautiful new kitchen floor come to life. This is where craftsmanship and attention to detail really shine.
13. Master Proper Adhesive Application for Lasting Results.
If you’re using a glue-down flooring like tile or some types of LVP, the adhesive is the secret handshake between the floor and the subfloor. Using the right amount is crucial. Too little, and you’ll have hollow spots that can lead to cracked tiles. Too much, and it will squish up between the seams, creating a sticky, ugly mess that’s impossible to clean.
The key is using the right-sized notched trowel—the manufacturer’s instructions will tell you exactly which one to use. This isn’t a suggestion; it’s a rule. The notches ensure you’re spreading the perfect amount of adhesive every time. A little shortcut I love, especially for big tiles, is “back-buttering.” After spreading the adhesive on the subfloor, you spread a very thin, flat layer on the back of the tile itself. This guarantees 100% coverage and a rock-solid bond.
Now, let’s make sure everything fits perfectly.
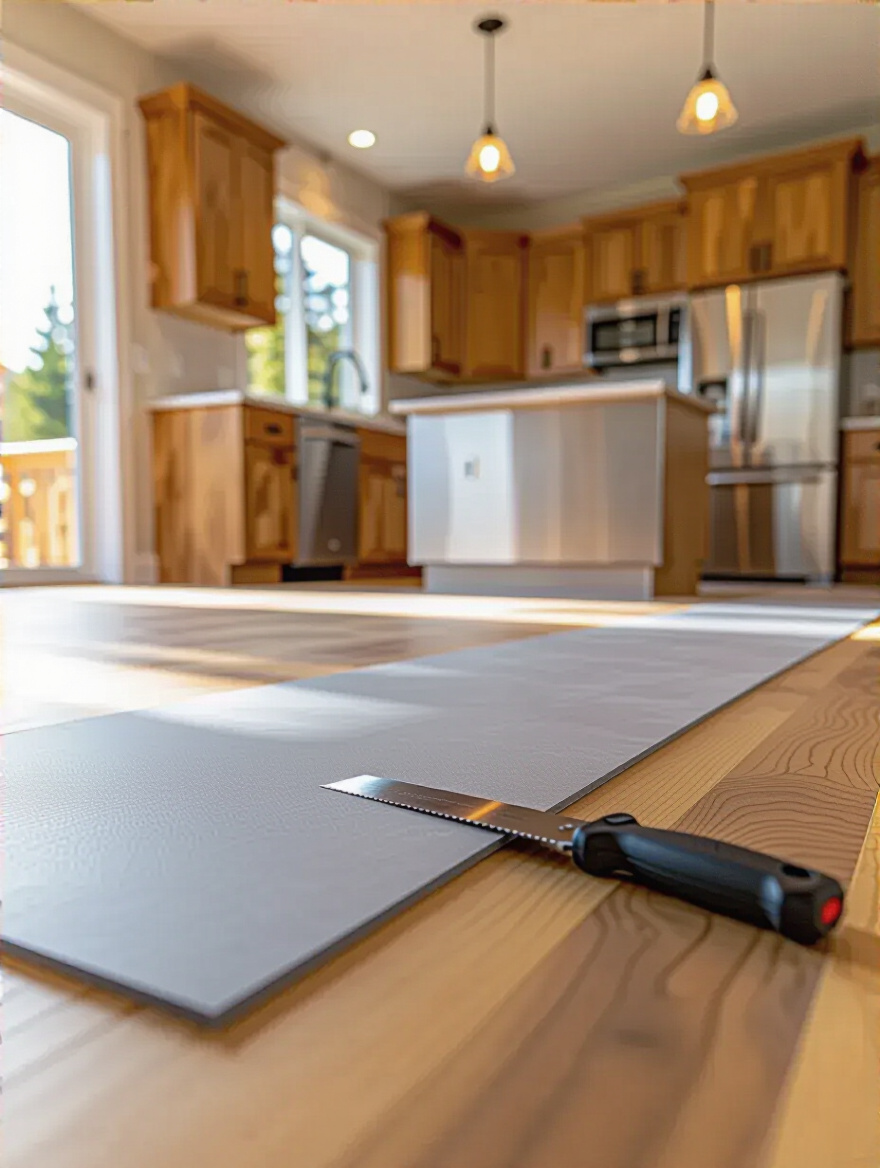
14. Cut Flooring Materials Accurately with the Right Tools.
There’s a reason pros make it look easy: they have the right tools. Trying to cut LVP with a utility knife will leave you with jagged edges and a sore wrist. Trying to cut porcelain tile without a wet saw is… well, it’s just not going to work. Investing in or renting the proper cutting tool for your material is non-negotiable for a clean, professional finish.
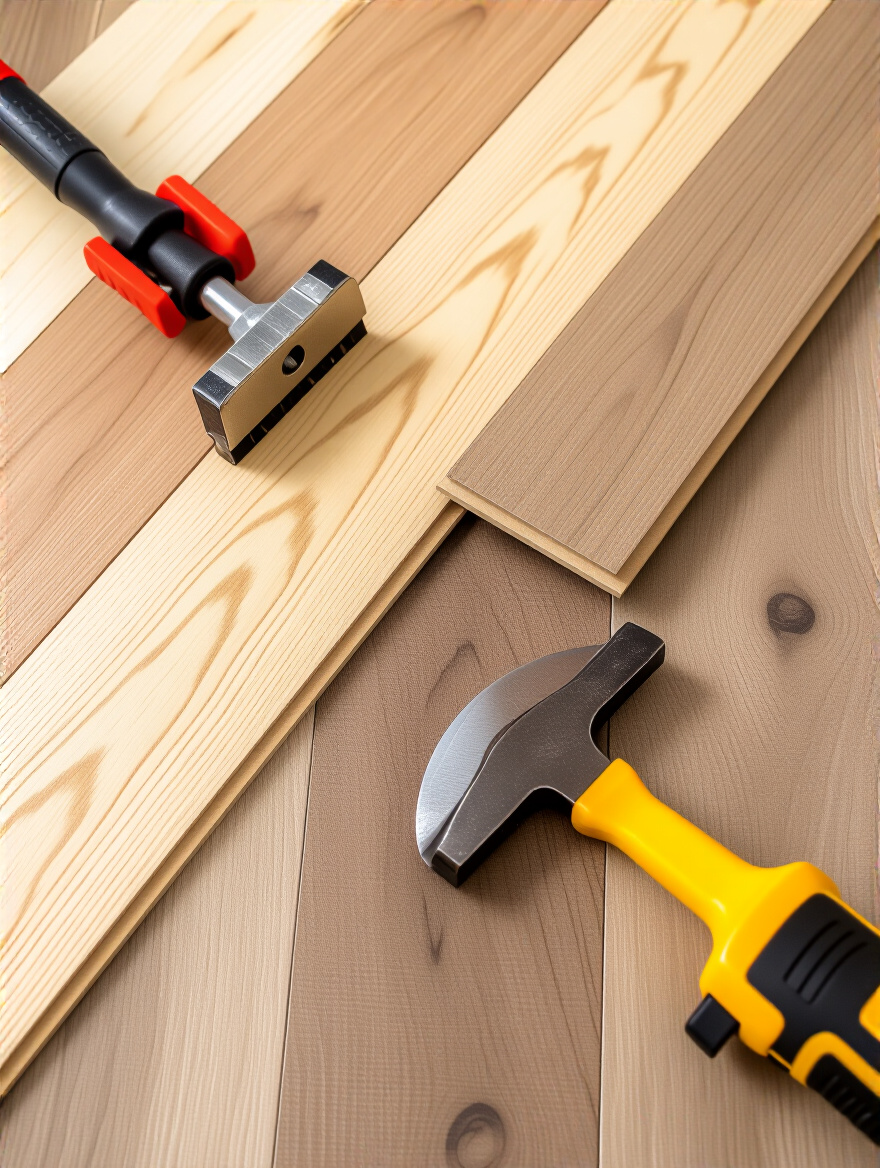
The old carpenter’s adage, “measure twice, cut once,” is your mantra here. But I’ll add one more thing: account for the blade. The blade itself has a thickness (the “kerf”), so always cut on the waste side of your marked line. This ensures your final piece is the exact size you need. This tiny detail is the difference between tight seams and frustrating, visible gaps.
For tile floors, the spaces between the tiles are just as important as the tiles themselves.
15. Achieve Professional-Grade Grout Lines for Tile Floors.
Grout is more than just the stuff that fills the gaps. It locks your tiles together, creates a waterproof surface, and contributes to the final look. Sloppy grout work can make the most expensive tile look cheap. The secret to perfect grout? Consistency.
First, mix your grout to the consistency of smooth peanut butter. Too watery, and it will be weak and crack. Too thick, and it’s impossible to work with. Then, as you clean the excess off the tiles, use the “two-bucket” method. This is a game-changer. You have one bucket with your cleaning water and a second bucket with clean rinse water. You use the first bucket to get the gunk off your sponge, and the second to get your sponge clean again. This prevents you from just smearing a thin, dirty film of grout (called “haze”) all over your beautiful new tile.
Now let’s connect your new floor to the rest of the house.
16. Ensure Seamless Transitions Between Different Flooring Types.
Chances are, your kitchen opens up into another room with a different type of flooring, like the hardwood in your dining room or the carpet in the living room. The little strip that covers this seam is called a transition, and getting it right is crucial for both looks and safety. The worst thing you can do is have an abrupt, uneven edge that becomes a toe-stubbing nightmare.
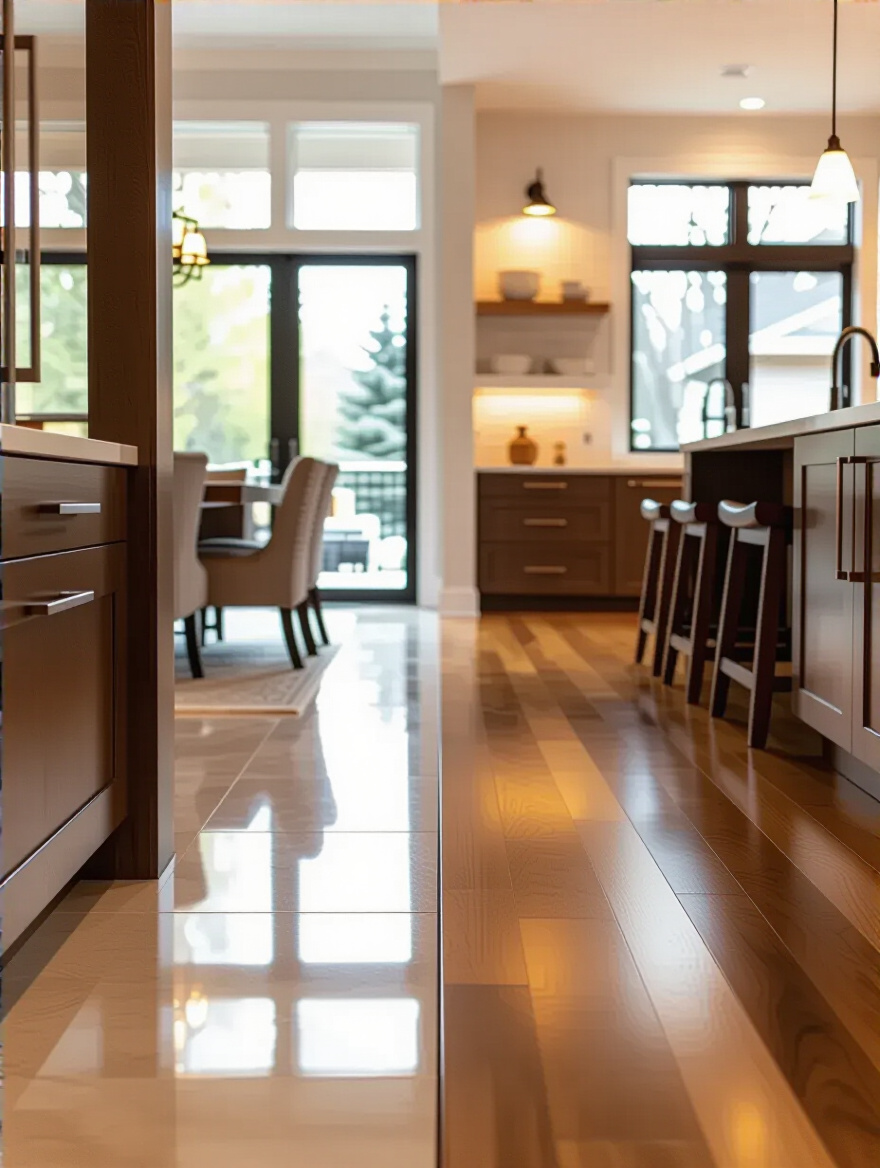
The goal is to make the transition as smooth and unnoticeable as possible. You’ll need a specific type of transition piece (like a T-molding or a reducer) depending on whether the two floors are the same height or different heights. Before you permanently attach anything, do a “dry fit.” Lay the transition piece in place to make sure it sits flat and looks right. This little rehearsal lets you make adjustments before it’s too late. A smooth transition is an elegant, finishing touch that signals a high-quality job.
Underneath it all, there’s another layer that adds a touch of luxury.
17. Install Underlayment to Enhance Comfort and Noise Reduction.
If you’re installing a “floating” floor like LVP or laminate, it needs an underlayment. This is a thin layer of foam or cork that goes down first. Don’t let anyone tell you this is an optional upsell. It’s a critical component that makes a huge difference in how your floor feels and sounds. It adds a bit of cushion underfoot, which you’ll appreciate after standing for a long time, and it deadens sound.
Underlayment is the reason some floors sound solid and quiet when you walk on them, while others have that cheap, clacky echo. It also helps smooth over tiny imperfections in the subfloor. A word of warning: Always use the underlayment recommended by your flooring manufacturer. Using the wrong kind or thickness can actually damage the locking mechanisms on your planks and void your warranty. So, stick to the script on this one.
Ready to add some personality? Let’s talk patterns.
18. Execute Intricate Flooring Patterns for Enhanced Visual Appeal.
Laying flooring in a standard, straight pattern is classic and beautiful. But if you want to make a real statement, an intricate pattern like herringbone or a diagonal layout can transform your floor into a work of art. It can make a small kitchen feel larger and a simple kitchen feel incredibly sophisticated. It’s a way to inject your own personality directly into the bones of the room.

But here’s the real talk: it is a lot more work. It requires more complex cuts and a lot more planning. You absolutely must find the center of your room and draw layout lines to guide you. The big BS to avoid is just starting against a wall and hoping for the best. You’ll end up with weird, tiny slivers of tile in the most visible spots. My shortcut? You will need more material. A straight-lay pattern might require 10% extra for waste, but a herringbone or diagonal pattern requires at least 15-20% more. Order accordingly so you don’t run out mid-project.
Phase 4: Finishing Touches & Long-Term Care
The floor is down! But you’re not done yet. These final steps are what take your project from “newly installed” to “beautifully finished,” and they ensure your floor stays looking amazing for years.
19. Select and Install Appropriate Baseboards and Trim.
Baseboards are the picture frame for your new floor. They cover the gap between the flooring and the wall (an “expansion gap” that’s necessary for most floors to breathe) and give the whole room a clean, finished look. Installing a gorgeous new floor and then putting the old, scuffed-up baseboards back on is like wearing dirty sneakers with a brand new suit.
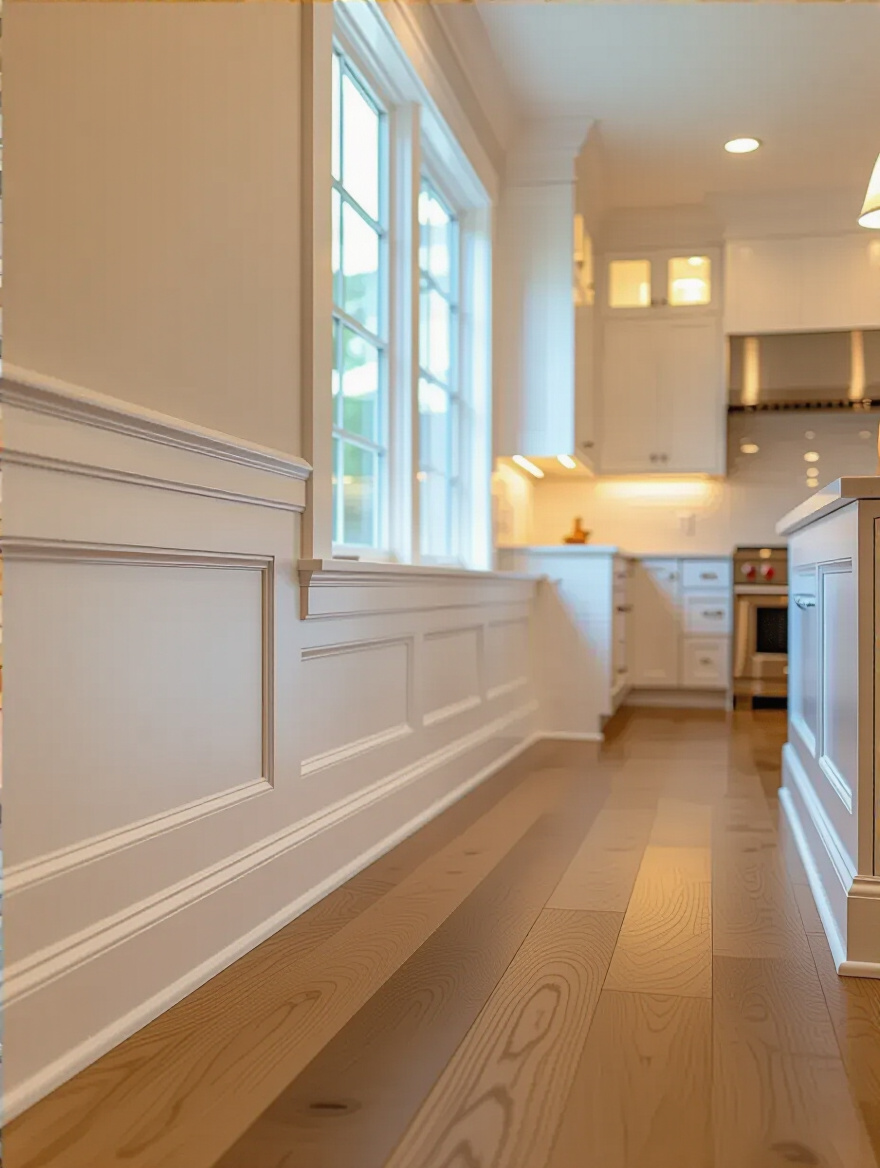
Take the opportunity to choose a baseboard style that complements your kitchen’s aesthetic. A simple, modern kitchen might call for a clean, square-profile trim, while a more traditional space could handle something with more detail. A great shortcut is to paint the new baseboards before you install them. It’s so much easier to do in the garage on a set of sawhorses than it is taped off on your hands and knees once they’re on the wall.
Now let’s get it clean for the big reveal.
20. Learn Post-Installation Cleaning for Optimal Appearance.
I know you’re dying to clean your new floor and see it sparkle, but you have to wait! This is so important. Adhesive and grout need time to cure—usually 24 to 72 hours. Cleaning too soon with water and chemicals can weaken the bond or ruin the grout. So, respect the cure time!
Once you get the green light, start by vacuuming up all the fine dust with a hard-floor attachment. Then, use the right cleaner. This is not the time for a generic, all-purpose cleaner. Use a pH-neutral cleaner that is specifically recommended for your type of flooring. For tile, you might have a “grout haze” left over. You can get special grout haze removers that gently dissolve it without harming the tile. Using the wrong cleaner is the fastest way to ruin your new floor’s finish.
To keep it looking this good, you need a plan.
21. Develop a Smart Maintenance Routine for Floor Longevity.
A beautiful new floor deserves a simple, smart routine to keep it that way. This isn’t about scrubbing for hours. It’s about small, consistent actions. Put a good-quality doormat at the entrance to your kitchen to trap dirt and grit before it has a chance to scratch the floor. Sweep or vacuum regularly. And the biggest rule of the kitchen: wipe up spills immediately.
For cleaning, again, use the right stuff. Never use a steam mop on LVP or hardwood—the intense heat and moisture can damage the finish and get into the seams. A microfiber mop with a pH-neutral cleaner is your best friend. My secret for longevity? Check your flooring manufacturer’s website. They often have a detailed “Care & Maintenance” guide that tells you exactly what products and methods to use. Following their advice is the best way to protect your investment and your warranty.
And part of that protection involves the furniture.
22. Prevent Future Damage with Strategic Furniture Protectors.
Think about your kitchen chairs. They probably get scraped back and forth a dozen times a day. Without protection, the legs of those chairs will act like sandpaper on your brand-new floor. Felt pads are the cheapest and easiest insurance policy you will ever buy. They cost a few dollars a pack and take seconds to apply.
Clean the bottom of every furniture leg before you stick them on, so they adhere properly. For chairs that get a ton of use, I highly recommend upgrading from the simple stick-on pads to the nail-in or screw-in kind. They cost a little more, but they won’t fall off. It’s a tiny detail that prevents hundreds of scratches and keeps your floor looking new for years longer.
But what if something does go wrong?
23. Troubleshoot Common Post-Remodel Flooring Issues Promptly.
Even with a perfect installation, things can sometimes happen. Maybe a plank settles weirdly, or a grout line develops a tiny crack. Don’t panic, but don’t ignore it either. The absolute worst thing you can do is see a small problem and hope it goes away on its own. It won’t. It will get worse.
As soon as you notice something—a gap, a squeak, a lift—take a picture and contact your installer immediately. Reputable professionals want to know about these things. It’s much easier for them to fix a tiny issue right away than a massive failure a year down the road. This is why you hire a good contractor with a good warranty. Let them handle it. This prompt action protects your floor and your investment.
Which brings me to my final, and most rewarding, point.
24. Boost Your Home’s Value with Strategic Flooring Choices.
A kitchen remodel is one of the best investments you can make in your home, and the floor is a massive part of that. A beautiful, high-quality, and timeless kitchen floor has a huge “wow” factor for potential buyers. It signals that the home has been well-cared for and updated thoughtfully.
To maximize your return, choose materials that have broad appeal. Natural-looking wood tones, whether in engineered hardwood or LVP, are always a safe bet. Large, neutral-colored porcelain tiles also feel clean, spacious, and high-end. If you’re looking for a shortcut to an even bigger value boost in a higher-end home, consider installing radiant heat mats under your new tile. The luxurious feeling of a warm kitchen floor on a cold morning is an unforgettable selling feature.
Your Foundation for a Future of Delicious Memories
So there you have it. It’s a lot, I know. But creating a kitchen you love, from the ground up, is a journey worth taking. From the careful planning and budgeting to the satisfying work of installation and the simple routines of long-term care, every step is a part of building the heart of your home.
This isn’t just about laying down planks or tiles. It’s about creating a warm, welcoming, durable foundation for countless future meals, late-night conversations, and happy memories. So take a deep breath, roll up your sleeves, and get ready to create a space that doesn’t just look beautiful, but feels like home. You’ve got this.